
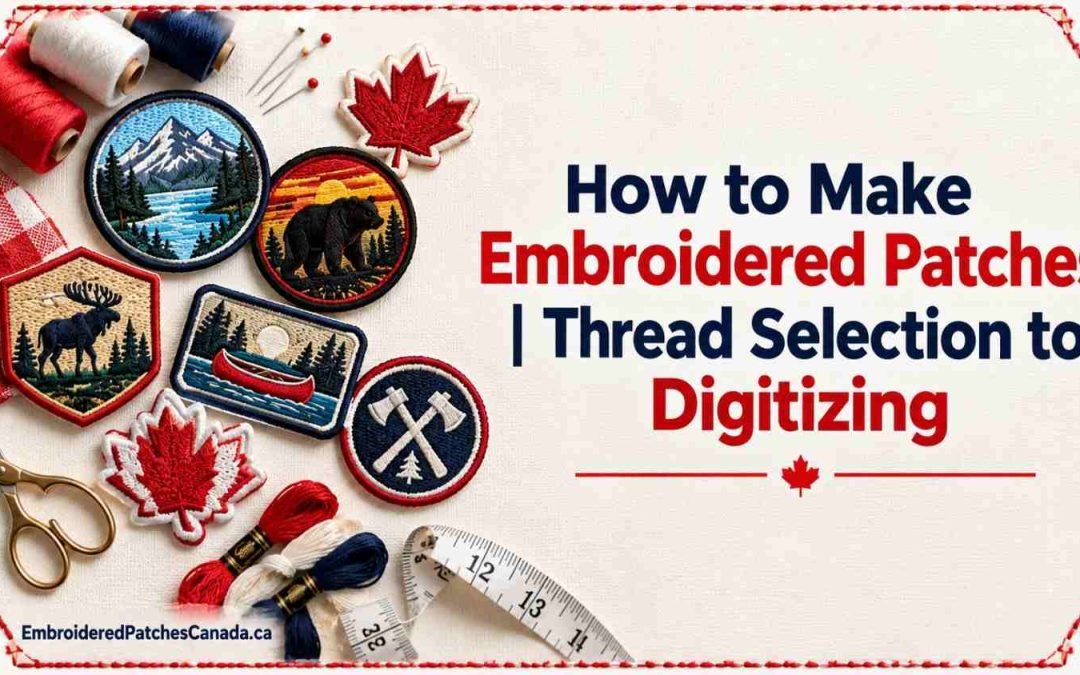
Whenever we deliver our embroidery patches to our customers across Canada, the first thing they ask is, “How do you make embroidered patches so great?” Today, we are exposing the secret of how to make embroidered patches, from thread selection, border choice and digitizing. Understanding how artwork becomes finished patches helps you create good embroidered patches. You need to fix all the errors in your patch before delivering them to customers with confidence.
How Does Artwork Become a Digitized Patch Design?
To start this guide on how to make embroidered patches, you need to finalize the artwork using digitizing before a single stitch is sewn. For those who have no idea what digitizing is, it’s a file format which embroidery machines can read while creating embroidery patches. The process of digitizing in a few steps:
Step 1: A Digitizer Reviews Your Artwork
An expert digitizer studies your logo or design and makes it ready for stitching. it’sIt’s not just a file conversion;; it requires specialized skill to shape the final patch look.
Step 2: Stitch Types Are Chosen for Each Part of the Design
All the parts of your patches need distinct types of stitches, for example:
- Satin stitches are used for borders and text (do not worry; here, satin doesn’t mean you’re getting evil stitches; it’s just a name)
- Fill stitches cover larger solid areas.
- Running stitches handle fine outlines.
Only an experienced digitizer understands which stitch type will work for your patch shape.
Step 3: Stitch Direction Is Set
How you stitch thread, it changes how light reflects off the patches. That’s why you see two patches look different even if they have the same logo designs on them, based on who digitized them.
Step 4: Your Artwork Format Is Checked
Vector files like AI, EPS or SVG work best. They keep text, lines and corners sharp, even when resized. Low-resolution images, tiny text, and tight gradients often cause problems, since thread can’t capture fine detail the way ink or pixels can. Make sure to pick the right size of the patches, learn more about size and thread count in detailed guide.
Step 5: Problem Areas Are Flagged Before Production
A good digitizer fixes your artworks just by looking at them and guides you on where you need simplification. You can save your money and time simply by catching issues in the patch before bulk production.
How Is Thread and Fabric Selected for a Patch?
Thread and fabric selection is an important part of this guide for how to make embroidered patches look special. Only the right material choice shapes both how a patch looks and feels. Here is what you need to do while making custom embroidered patches:
The Base Fabric Is Twill
Usually, embroidered patches are stitched onto the twill fabric, tightly woven cotton or cotton-polyester blend. It becomes a stable surface for embroidery and holds thousands of stitches in one place.
The Thread Type Depends on Use
Polyester is the standard choice for most patches. It resists fading, holds colour through repeated washing, and handles sun exposure well. Rayon has a glossier sheen and softer feel, often used for decorative patches that see lighter wear. Metallic thread is reserved for small accents, since it frays more easily over large areas.
There are so many types of threads you can use, just like you have multiple embroidered patch styles you can choose from.
Colours Are Matched to a Standard Chart
There is a whole colour chart you can follow while designing embroidery patches, just like printers use Pantone references. This way, you can maintain your brand colours’ consistency among all the patches you create.
What Happens During the Machine Embroidery Process?
Curious about how to make embroidered patches using machines? It’s done after you choose your design file and finalize the materials for the patch making. You can start work on the embroidery machine, and here is how it works:
The Fabric Is Hooped and Backed
You need to starch the twill fabric into a hoop to hold it steady. Avoid puckering the fabric by placing a stabilizer beneath it because thousands of stitches pass through it.
The Patch Is Loaded onto a Multi-Head Machine
The hooped fabric goes onto a commercial embroidery machine with several sewing heads. Each head stitches its own identical copy of the design at the same time.
Multiple Patches Are Stitched Together
Embroidery machines let you create multiple embroidered patches at once; one production cycle produces dozens of patches in parallel. This is the real reason you get a special discount on ordering a large quantity of patches; the setup and machine time get shared across every unit instead of just one.
The Machine Follows the Digitized Path
The machine stitches exactly what was planned during digitizing: the stitch path, the stitch count, and the order of thread colours. It pauses on its own each time a new colour is needed.
Stitch Density Shapes the Final Look
Stitch density actually means how close you put stitches on the twill base. When you apply higher density, you get a raised, dimensional feel. This puffy feel is perfect for a premium look. But it requires more thread and takes more machine time, which is why denser patches usually cost more.
How Is the Border Finished and Backing Applied?
Once you go through embroidery in our guide on how to make embroidery patches, it’s time to choose the right border and backing for custom embroidered patches:
Border Finishing
- Merrowed border: In this type, an overlock machine folds the raw edge in thread; later, it directly stitches it against fraying, and you get that classic rounded look.
- A finished merrow border takes roughly 3,000 stitches of dedicated work, according to Embroidery Legacy.
- Laser-cut border: the edge is sealed with heat instead of thread, allowing custom outlines, letters and irregular shapes
Backing Application
- Iron-on: a heat-activated adhesive layer is bonded to the back
- Sew-on: no adhesive used, held in place by thread alone
- Velcro and adhesive: heat-pressed on using presses calibrated for each material
How Are Finished Patches Quality Checked?
Quality check comes last in this guide for how to make embroidered patches. But you cannot wear or deliver custom embroidered patches without quality inspection of their stitches, border, backing, and fabric. If customers receive a faulty embroidered patch, they leave a negative review and never come back to your patch-making services. Meanwhile, the quality check starts with colour consistency checking, border alignment, and backing adhesion.
You need to trim the loose threads by hand, and if a patch has a visible stitch gap, thread breaks or a misaligned border, pull it from the batch before packing. For large-scale embroidered patch production, this stage is the most importance, where you have to detect every small issue and fix them on the spot.
| Production Stage | What Happens | Typical Timeframe |
| Digitizing | Artwork converted into a stitch file | 1 to 2 business days |
| Sampling (if requested) | Proof patch produced for approval | 3 to 5 business days |
| Production run | Full order embroidered and finished | 5 to 10 business days |
| Quality check & shipping | Inspection, trimming, packing, dispatch | 1 to 2 business days |
Final Thoughts on How to Make Embroidered Patches
Our detailed guide on how to make embroidered patches directly answer public question (how do you make embroidered patches so good?). We explained our five different stages of making embroidered patches: digitizing, material selection, machine embroidery, border and backing finishing, and quality check. To be a good patch maker, you have to learn all these steps, and then you will not have to search for how to make embroidered patches again.
Ready to turn your own design into precisely digitized custom embroidered patches? Request a quote at EmbroideredPatchesCanada.ca today.
Frequently Asked Questions
How long does production take?
The production time of embroidered patches depends on the quantity, design complexity and backing options you select. Also, you need to find good patch makers who deliver the patch to your doorstep. If you live in any city in Canada, then you must check out patch making services of Embroidered Patches Canada. They make sure to deliver your embroidered patches within 7 to 10 business days.
What is digitizing?
Digitizing is the process of converting artwork into a stitch file an embroidery machine can read, setting stitch type, direction and density for every part of your design. It’s the single biggest factor behind how sharp and clean a finished patch looks, which is why experienced digitizers matter as much as the machine itself.
Can I get a sample?
Many suppliers offer a sample or proof patch before committing to a full production run, particularly useful for larger orders or first-time designs. Sample cost and turnaround are usually quoted separately from the main order, so ask upfront if accuracy matters more than speed.